Mid/Side is a technique to adjust the mid (mono) and side (stereo) information of the…
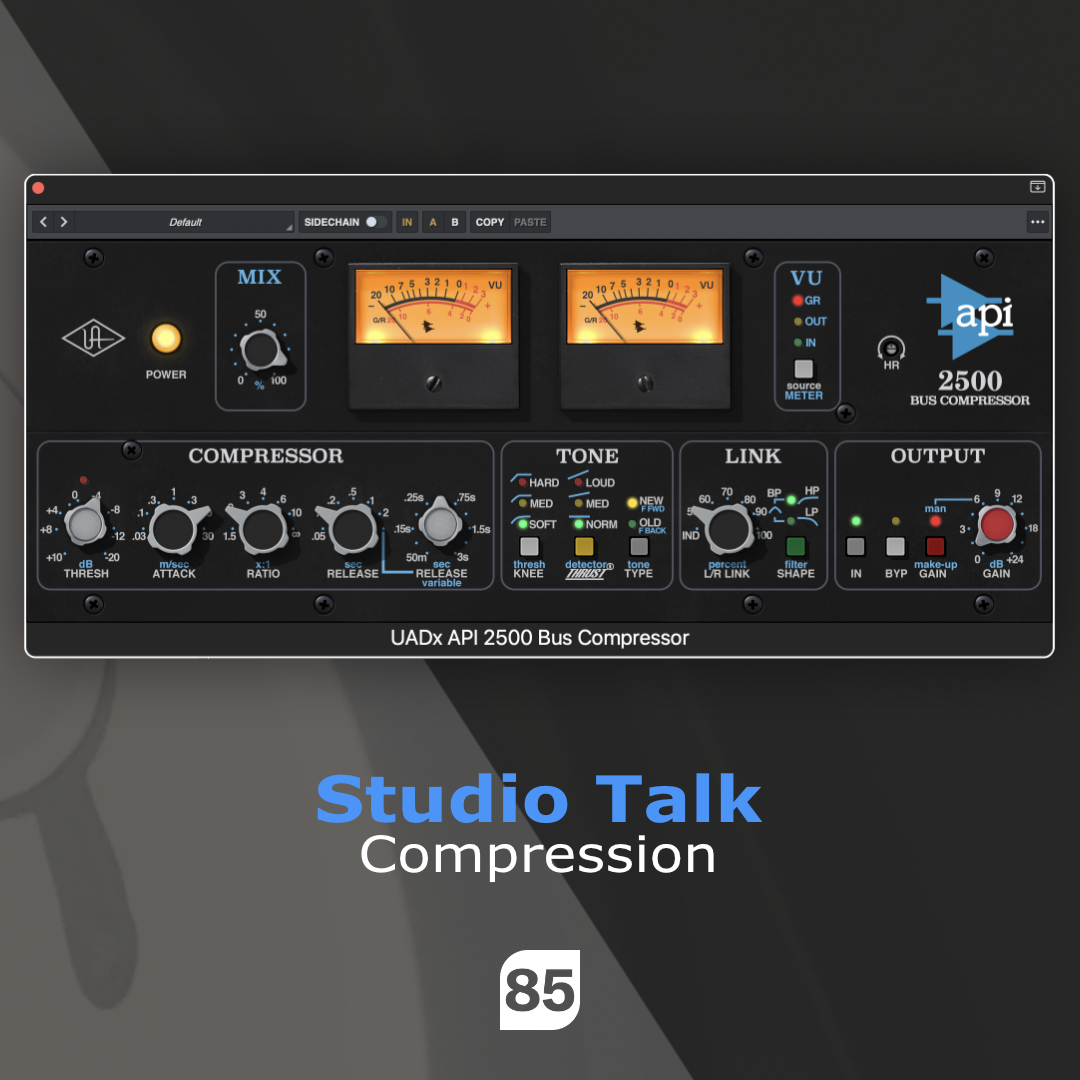
Studio Talk #002 Compression
Wouldn’t it be great if we had a very special device that helped us control the levels instead of doing things by hand? Well, someone beat us to it.. In 1925 a man named Harold Wheeler invented ‘Automatic Gain Control’ and it was used in almost every radio receiver to control the loudness of audio and different signals strengths. Nowadays we use a more advanced version that we know as a ‘Compressor’ with lots of possibilities when it comes to control and different character in sound.
The era of working in the box makes it even easier for us to use the compressor, with tons of presets and extra controls that the original hardware versions might not even have.
Let’s dive into some workflow tips for different purposes when it comes to working with compression shall we?
When adding a compressor u can easily overdo the effect that you are aiming for and totally get the opposite result, the key is to really listen and try adjusting things subtly without any gain difference that give you the impression that its sounds better just because things are louder. Try level matching things so you can really judge what effect the settings have that you have just set.
I find it very helpful to set the threshold very high so you can easily hear the different attack, release and ratio settings, try adjusting them and than roll back the threshold so the gain reduction peaks of just a little, with (electronic) drums i usually aim at 2db / 3db unless you are aiming for a special effect, with vocals and acoustic elements it really depends on the recording of the sound but again.. the key is to not overdo things because you can easily make things sound lifeless and thin and that’s the opposite of what you want right?
On the busses/groups or master channel its also a very good idea to keep things easy, don’t overdo it and try aiming at a gain reduction around 2db / 3db just to ‘glue’ things together in the mix with a ratio of 2:1, this can really do magic by controlling the peaks just a little. Don’t forget to level match so you can really hear what you are doing and don’t be afraid to experiment a little.
A very different trick is ‘New York Compression’ also known as parallel Compression, you can use this in a variety of ways and this depends on what you are working on. Is it a solo sound or a bus/ group or even on the master channel as a special effect?
Let’s say you have a single clap or snare but you find it to sound a little thin, this trick can really spice things up a lot! grab a compressor (that for this purpose has a dry/ wet control) and set the threshold and ratio pretty high, adjust the attack/ release settings so you hear the result that sound good to your ears and turn the dry/ wet (mix) knob all the way down to 0% now turn it up just a little to mix in the effect of the extreme compressor settings that you have just entered, i usually end up mixing it in at about 7% to 10% just for that little extra it adds but you can do this to taste. This way of setting up the parallel effect also works on the busses/ groups and master but be careful as always not to overdo the effect)
Last but not least is sidechain compression, this is the well known ducking effect that got really famous with the French house sound that Daft Punk are known for back in the days. Off course today it is used in a variety of different ways, you can really make room for the kick when the bass and kick share the same frequencies by ducking the bass every time the kick hits. Also setting a 1/8th note to the sidechain input can help you with some good mixing effects, there are a lot more things i can say about this subject but i would like to ask you to try out different things yourself on vocals, synths, effects.. you name it!
Happy music making!
Related Posts